Getting started

How To Install Massive Platform
Installing the platform is reasonably straight forward if you you’ve got some Drupal experience.
Here’s a list of things you’ll need:
- A Web Server (nginx preferred)
- A MySQL Database (with utf8mb4 enabled)
- PHP 7.2+
- A long train ride
If you are developing with Ubuntu (our preference) you can get up and running easily by installing the following packages:
sudo apt-get update
sudo apt-get install mysql-server
sudo apt-get install nginx
sudo apt-get install php-fpm php-mysql php-gd php-curl php-json php-readline php-mbstring php-dom
# install composer from https://getcomposer.org/
# install drush from composer
composer -W global require drush/drush:8.*
# for sending mail, your favorite MTA
sudo apt-get install postfix
Once you’ve got nginx, MySQL and PHP, then you’re ready to go.
These instructions were developed for an Ubuntu Linux development environment so you may need to modify to suit your own set-up.
1. Get the source code
$ cd /var/www
$ git clone https://github.com/travelmassive/massiveplatform.git massiveplatform
Cloning into 'massiveplatform'...
remote: Counting objects: 133588, done.
remote: Compressing objects: 100% (1023/1023), done.
remote: Total 133588 (delta 162), reused 0 (delta 0)
Receiving objects: 100% (133588/133588), 125.97 MiB | 1.08 MiB/s, done.
Resolving deltas: 100% (94854/94854), done.
Checking connectivity... done.
Checking out files: 100% (6926/6926), done.
Note: this may take some time initially.
2. Create database and permissions
The database will require utf8mb4 support.
ubuntu@localhost$ mysql

mysql> create database massiveplatform;
Query OK, 1 row affected (0.01 sec)

mysql> grant all on massiveplatform.* to massiveplatform@localhost
  identified by 'massiveplatform';
Query OK, 0 rows affected (0.03 sec)
Note: if you change any of the mysql database details, make sure you configure sites/default/settings.php accordingly later on.
3. Create an nginx configuration file
We’ve created a sample configuration file in the ‘massiveplatform_setup_files’ folder to get started.
cd /var/www/massiveplatform
sudo cp massiveplatform_setup_files/localdev.massiveplatform.com.conf /etc/nginx/sites-enabled
/etc/init.d/nginx restart
4. Edit your php.info
Change the following variables in your php.ini as set out below (On Ubuntu: /etc/php7.4/fpm/php.ini)
# Required by nginx php usage
cgi.fix_pathinfo = 0

# Support users uploading large profile pictures from their mobile devices
post_max_size = 16M

# Maximum allowed size for uploaded files
upload_max_filesize = 16M
Restart php7.2-fpm service after modifying php.ini
sudo service php7.4-fpm restart
5. Import Sample MySQL database
Your MySQL installation will need to support utf8mb4 to import this, and you will need to uncomment the utf8mb4 settings (see sample settings.php). This is recommended for new installations.
cd /var/www/massiveplatform
zcat massiveplatform_setup_files/massiveplatform.utf8mb4.sql.gz | mysql -u massiveplatform -p massiveplatform
6. Copy settings.php and non-git files into sites/default
cd /var/www/massiveplatform
mkdir sites/default
cp massiveplatform_setup_files/settings.php sites/default
# note - edit settings.php here if you changed database name or password
tar zxvf massiveplatform_setup_files/sites.tar.gz
7. Fix permissions - allow web server write access to default/files
sudo chown -R :www-data /var/www/massiveplatform
sudo chmod -R 775 /var/www/massiveplatform/sites/default/files
sudo chmod 444 /var/www/massiveplatform/sites/default/settings.php
Note: This works for local development, but on a production server you should review all file permissions.
8. Ready!
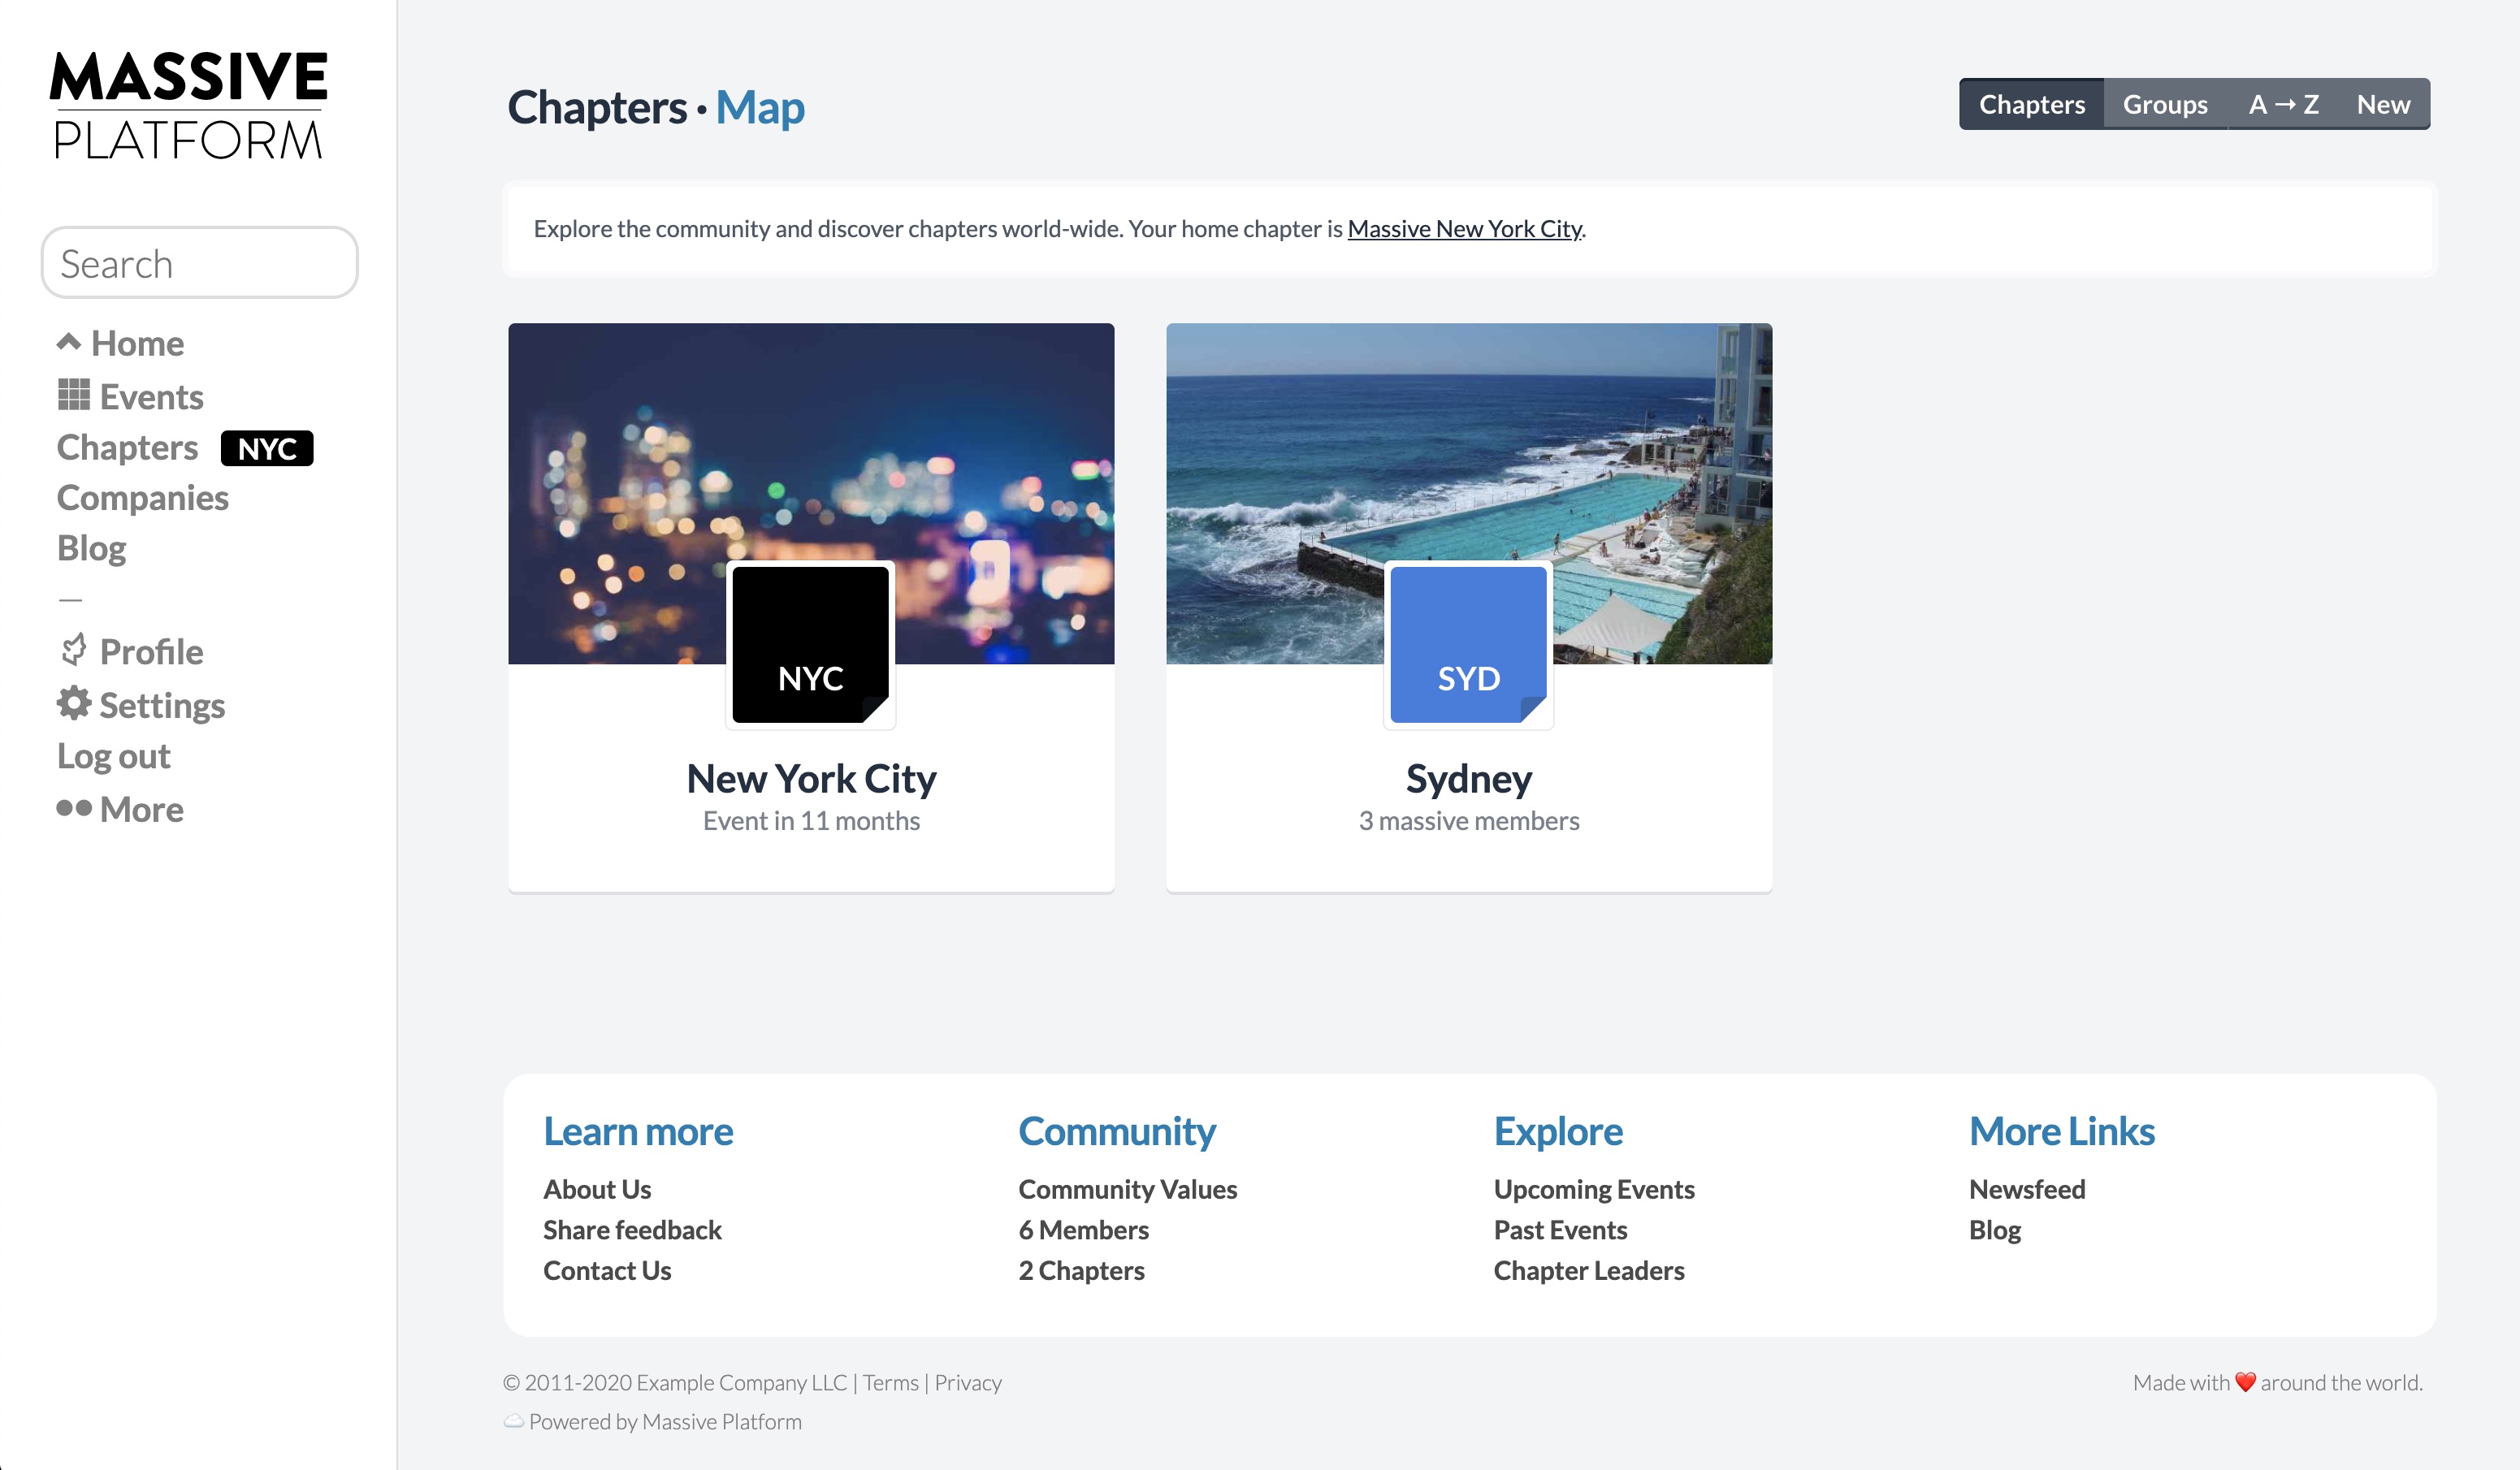
Ok, now point your browser to your web server. If you are developing on your local server you can probably use “localhost”, or if you have a configured hosts files you can use “localdev.massiveplatform.com” as we’ve used in our example.
9. Default Logins
Here are the default logins for the site (in “username / password” format):
- Moderator account: “moderator / moderator”
- Demo account: “demo / demo”
- Admin account: “admin / massive”
Get this far? Let Us Know!
If you get this far and got your local development site running, we’d love to know! Send an email to ian@travelmassive.com and also provide any tips on improving these installation instructions so we can add it for others. Thanks!